How do I Set Up Relationships in Accounts Receivable?
The Relationships utility allows you to group family members together along with additional responsible people. It is most useful when creating invoices for daycare or school students, as customers, but sending AR statements to the person who is responsible for paying the bill, the Bill To. Adding this utility is accompanied by a new Relationship item located under Control Information, which allows you to establish your own Relationship Types.
This Step-by-Step tutorial walks you through the process of setting up relationships.
•For a visual tutorial, see the Relationships ![]() video.
video.
•All video tutorials can be viewed from the Tutorials & Videos page.
This Section Includes:
ØAdding Primary Family Members
1. From the Accounts Receivable menu, hover over Modify and then click Control Table Information.
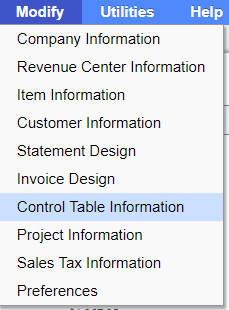
2. Choose Relationships from the drop-down list.
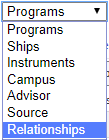
3. Click the Add New Type Icon.
![]()
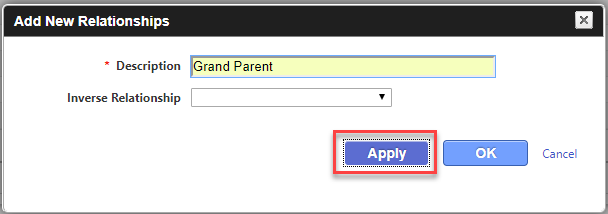
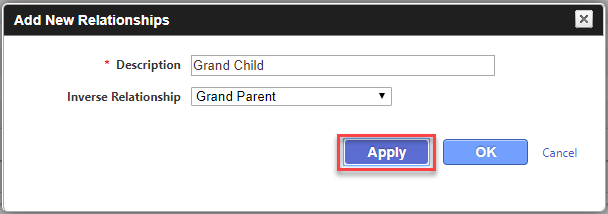
4. Type Grand Parent in the Description field and click Apply.
NOTE: Careful consideration should be given to your entry here.
5. Next, enter Grand Child in the Description field.
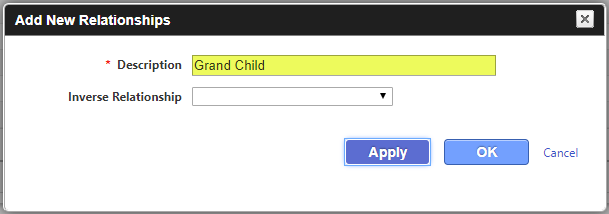
6. Select Grand Parent from the drop-down list of the Inverse Relationship field and click Apply.
NOTE: You could have entered Grand Mother and Grand Son, but that approach would require 4 Relationship Type pairs while this illustration is only 1 pair. So, keep it simple.
7. Enter any additional types as needed.
NOTE: You can have a single type in both the Relationship field and the Description field, i.e. Sibling. You can leave the Description field empty, i.e. no inverse relationship. This is helpful if you have a responsible party paying a part of the tuition for several customers, but they want to keep the inverse tag anonymous.
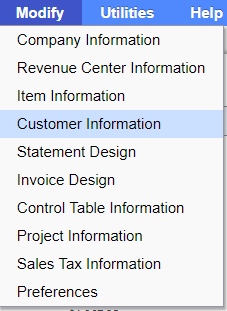
1. From the Accounts Receivable menu, hover over Modify and click Customer Information.
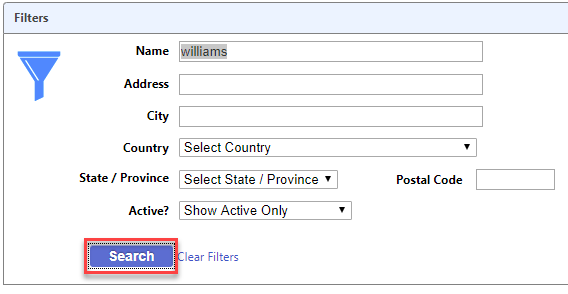
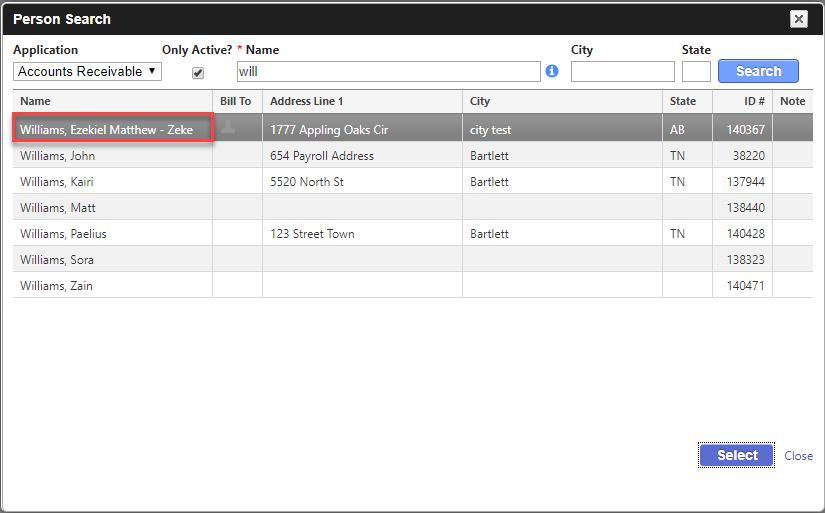
2. Enter a part of a customer's full name in the Name field and click the Search button.
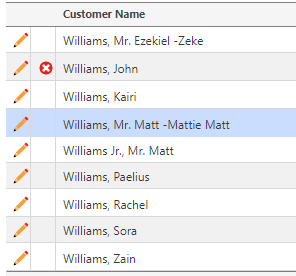
3. Locate and double-click the desired name.
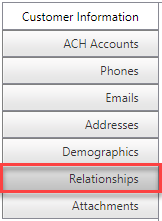
4. Click the Relationships tab.
5. Click the Add New Family Member link.
![]()
6. Click the (not set) link.
![]()
7. Enter the last name as needed and Search.
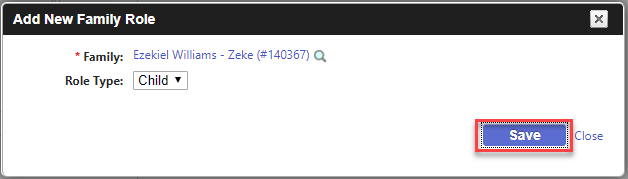
8. Adjust the Role Type as needed using the pull-down arrow.

9. Click the Save button.
10. Repeat until all family members are in the list.
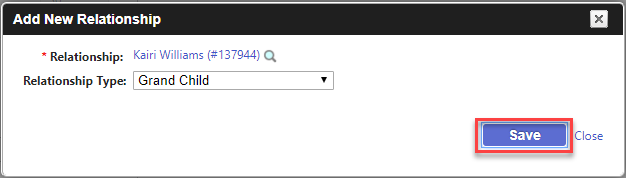
1. Click the Add New Relationship link.
![]()
2. Click the (not set) link.
![]()
3. Enter the last name needed and Search.
.png)
4. Using the pull-down arrow, select the Relationship Type as needed.
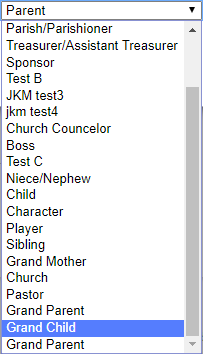
5. Click the Save button.
6. Repeat until all Other Relationships needed are in the list.